For me, 100% customer satisfaction is both a concern and a promise to you."

Google Tag Manager is a tag management system (TMS) that enables tracking codes & much more on websites or in mobile apps can be integrated quickly and easily.
Simply put, you can integrate various tracking pixels, event & e-commerce tracking as well as third-party pixels like from Facebook and co. on your website via Google Tag Manager.
The service is available to anyone with a Google account.
Features include:
On this page you will find an overview of the various functions of the Google Tag Manager.
If you are already interested in specific topics related to the GTM, you will find further content here.
An introduction to Google Tag Manager.
An all-purpose tool for online marketing professionals. In this article, I’ll explain the core features of Google Tag Manager (GTM) and how you can use it for your business.
Share article!

Author: Marc Heiss
Position: Management
Updated: 03.02.2021
Further contents
As with any Google service, a Google account is required. Just use the same with which you have already set up Google Analytics.
Once there, you need to create an account and in it a so-called container. Ideally, you have one account per domain where you then manage your containers.
You can reach the Google Tag Manager here.
In the next step, you will receive a tracking code as usual, which you will need to integrate on each of your web pages.
After you have done that, Google Tag Manager has been successfully installed on your website and you can set up your first tags.
The tracking code consists of 2 parts:
Whenever JavaScript fails to load on the website, this noscript code is executed so that Google Tag Manager can continue to function in a limited way.
Ideally, you should always implement both codes directly on your website. The easiest way to do this is to send it directly to your developer or if you use WordPress you can use a plugin for it.
My recommendation for this: https://wordpress.org/plugins/insert-headers-and-footers/

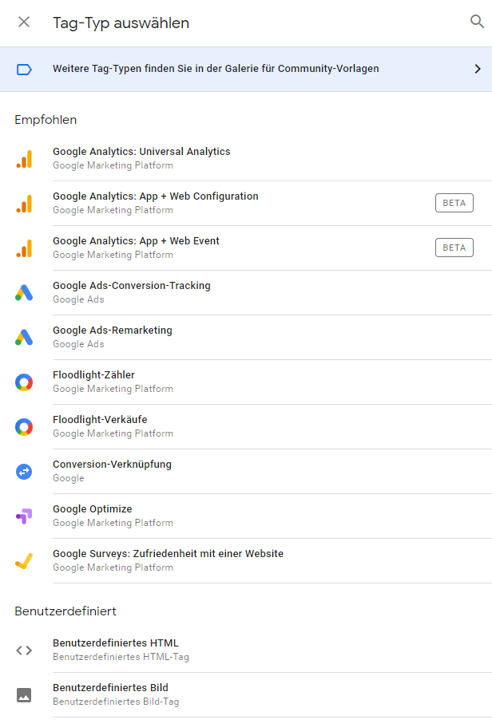
After the successful installation you get the possibility to create tags.
The first tag you will install is likely to be Google Analytics.
Since you now have the Google Tag Manager in use, you no longer have to integrate Google Analytics separately on your website, but can do this right away in the GTM.
Google Tag Manager works best when used in conjunction with a data layer. A data layer is a JavaScript object that is used to send information from your website to your Tag Manager container. You can then use this information to represent variables and to set up triggers in your tag configurations.
Examples:
Using data layer variables, Tag Manager can read values from your data layer implementation and pass them to tags, triggers, and other variables.
Inserting data layer code into a web page
Have a developer help you set up the data layer by adding the following code snippet in the <head> section of the web page, above the container snippet:
<script>
dataLayer = [{
‘pageCategory’: ‘signup’,
‘visitorType’: ‘high-value’
}];
</script>
To check the existing data layer, call the Devoloper Console. (Ctrl+Shift +D – Google Chrome)
Open Console Tab and enter “dataLayer
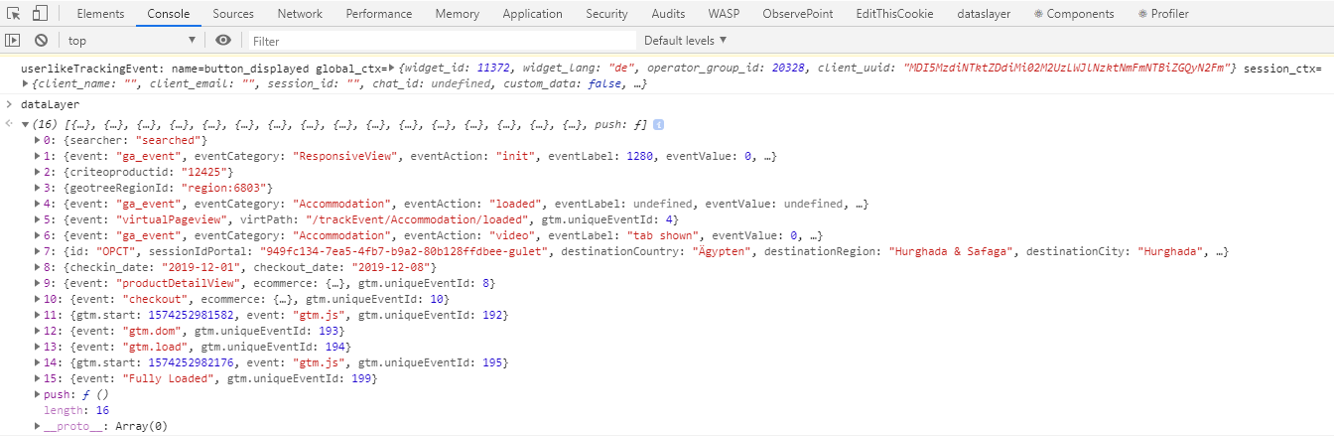
It is important that the desired variable is already available in the data layer of the website. You can check this very easily with the Console in the Developer Tools.
If the variable exists, you can now perform the following steps in the GTM to make this variable usable in it as well.
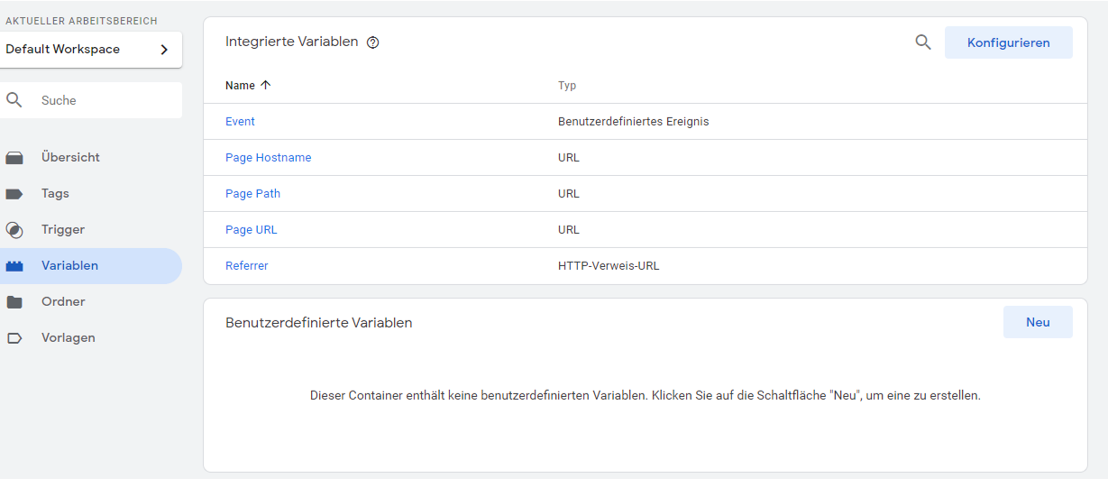
A variable is a named placeholder for a value that will change. This can be, for example, a product name, a price or a date.
You can choose from the following variables:
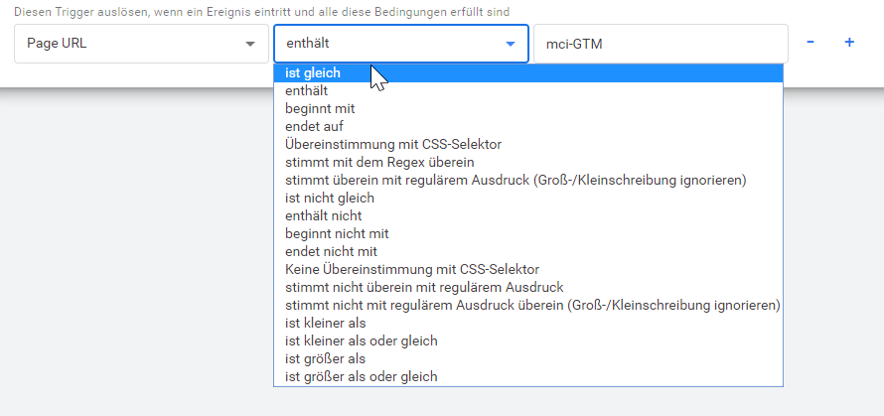
Any variable that is present in the system can be used as a variable. This variable is compared to the rightmost value using the operator. The field for the value does not take variables. You can only enter fixed values there. But still, this field offers some flexibility. This is because a total of 18 different options come into question as operators.
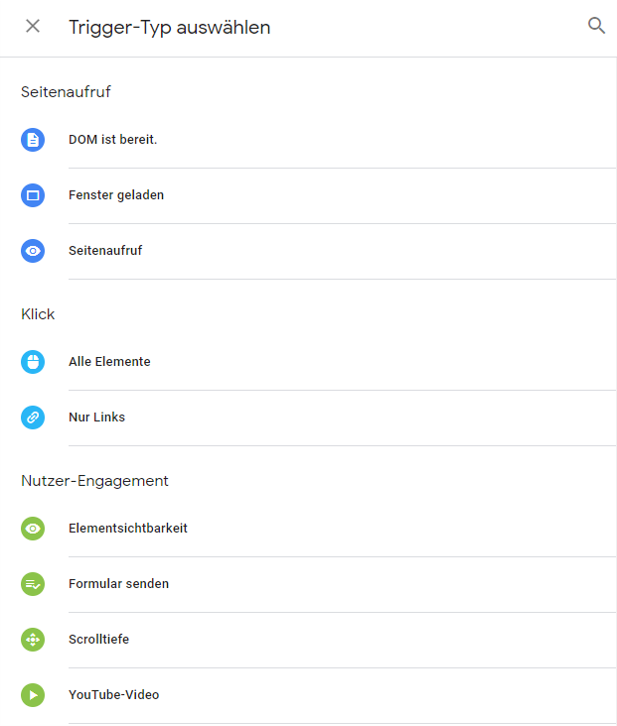
Each tag in Google Tag Manager needs a time or moment to be executed. To control this, assign a trigger to each day.
The only trigger that is available from the beginning in Google Tag Manager is the All Pages trigger. This trigger fires the assigned tag on every page load.
Technically, all triggers are based on events that are pushed to the data layer.
The moment the event is written to the data layer, Google Tag Manager checks all existing triggers to see if they respond to this event. If a trigger was found, the further rules or restrictions are taken into account, if necessary.
The All Pages trigger is triggered by the Page Call event. The page call has the event name gtm.js within Google Tag Manager. As a data layer event, it looks like this:
dataLayer.push({‘event’: ‘gtm.js’});
To respond to the automatic data layer events, we don’t need the event names, but we already have corresponding trigger types in Google Tag Manager.
All other events that we define ourselves we can catch with the trigger type Custom event.
To get an overview of the existing triggers or to find a newly created trigger, you can use the preview mode of Google Tag Manager.
It is important to know that an event does not necessarily trigger a trigger. An event only means that a push has been executed in the data layer. In cases where you push values into the data layer but the event field is not filled, only Message appears as the event name.
Preview mode is one of the great ways to try out all the activities within Google Tag Manager in a “test environment”.
All you have to do is press the “Preview” button and enter the URL of the page.
A Tag Assisant tab will open in your browser where you can now check all tags, triggers, variables and the data layer.
In summary:
Finally, here is a summary of the main advantages of the GTM.


"Glad to welcome you to our website. Any questions? Why not give me a call right now with no obligation and we can discuss your concerns in person."